How To Detango Facelift Fiesta Mk6.5 Headlights
You will need
Torx Screwdriver
Small flat blade screwdriver
1 straight long nose plyer
1 bent long nose plyer
Opposite pin Silvatec indicator bulbs
Guide
1. First you will need to remove the grille. This just unclips with some gentle persuasion.
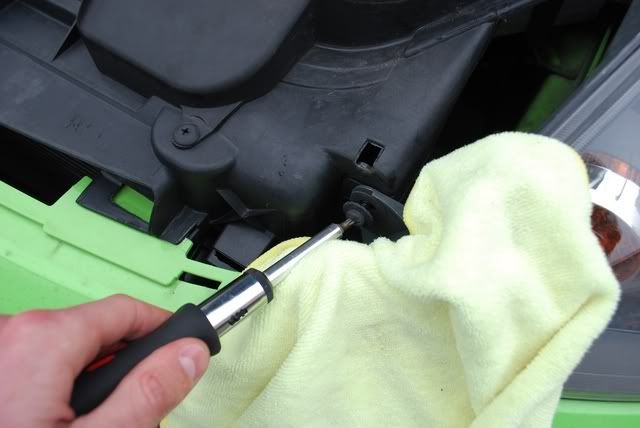
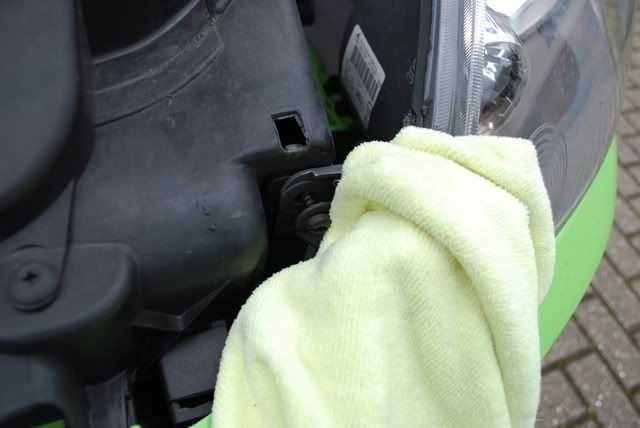
2. Start by removing these three screws with the torx screwdriver to remove the light unit
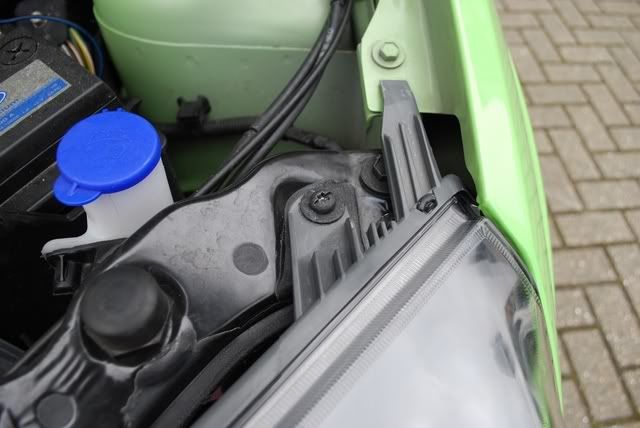
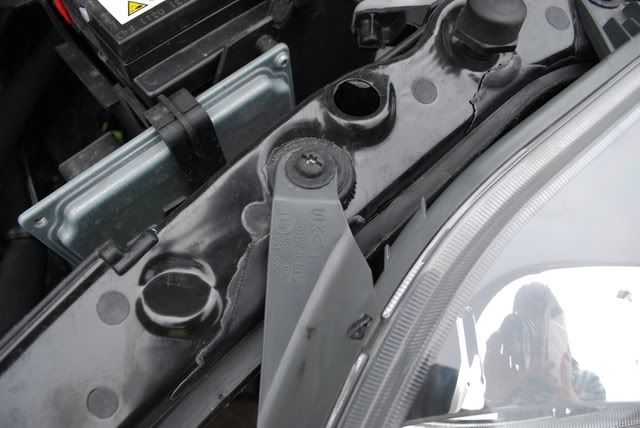
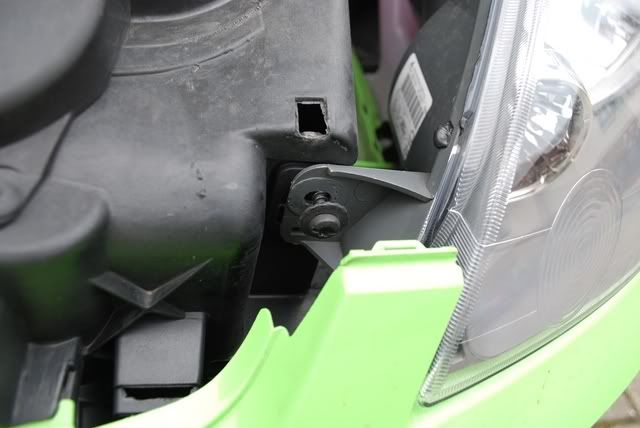
3. When removing the lower screw (Which would be behind the grille) use a cloth to protect the paint as you loosen the screw.
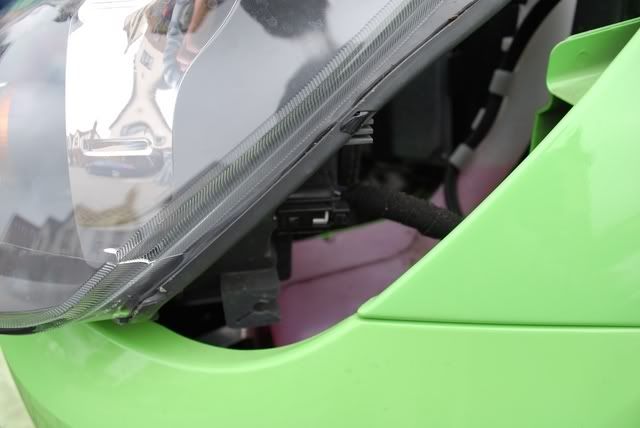
4. Now its time to remove the light unit from the car. This is a hard job so you need to be careful not to break the light or the bumper. Slide the unit slightly forward toward the front of the car. then, cover the part of the bumper that flicks up between the grille and the headlights with the cloth again to prevent scratching or damage. You need to gently, as to not break the bumper or damage the paint bend the part of the bumper up the side of the unit forward (away from the car) as you slide the corner of the unit past and up out of the gap.
5. Now unclip the wiring loom from the unit.
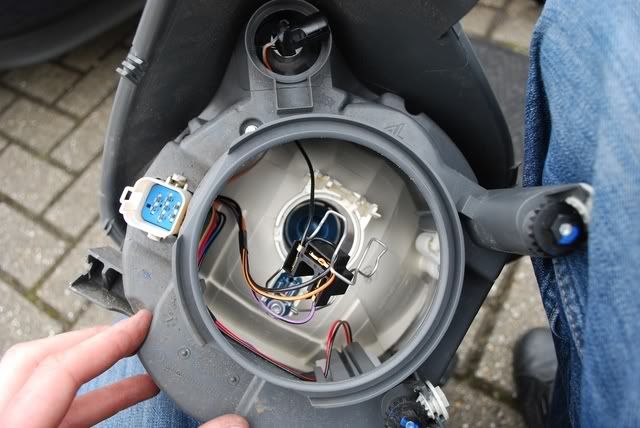
You can now lift the unit totally clear ofthe car and prepare to change bulbs and detango the unit.
6. If you are changing over the H4 headlight too, remove the large black rubber cover from the reverse of the unit. You will see this:

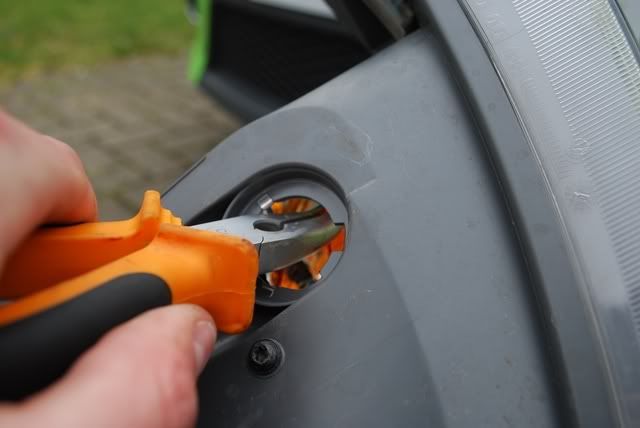
7. Proceed to undo the metal clip (Which is quite stiff) to remove the bulb. It is advised you remove the bulb while you detango anyway as to not damage the filaments in the process.
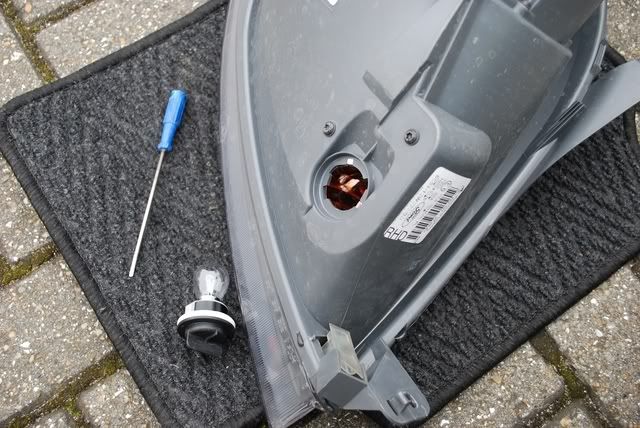
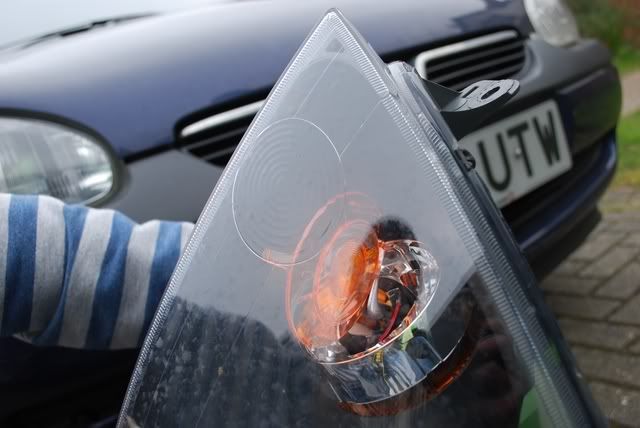
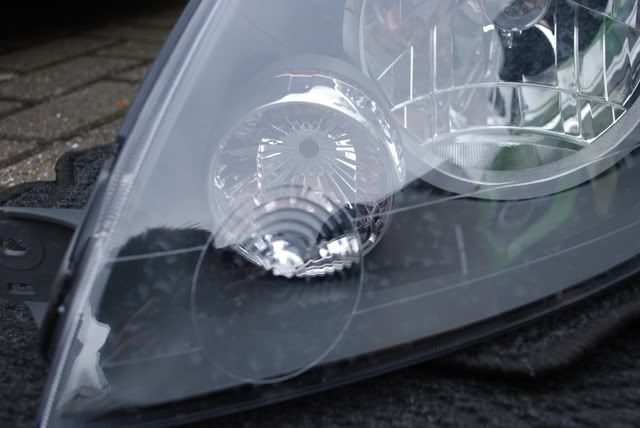
8. On the underside of the unit you will find the indicator compartment. Unscrew the bulb holder. This is where you will be removing the orange filter through.
9. Using the small flat bladed screwdriver push the lense through the indicator compartment and free the filter into the headlight. It is only held on by 4 plastic clips (Part of the orange filter)
10. Shake the whole unit untill the filter is sitting in a position where you can start braking it away.
11. Here is a good way of sitting while braking up the filter. You are stabalised and the unit is secured by your legs. You can also clearly see what you are doing through the lense.
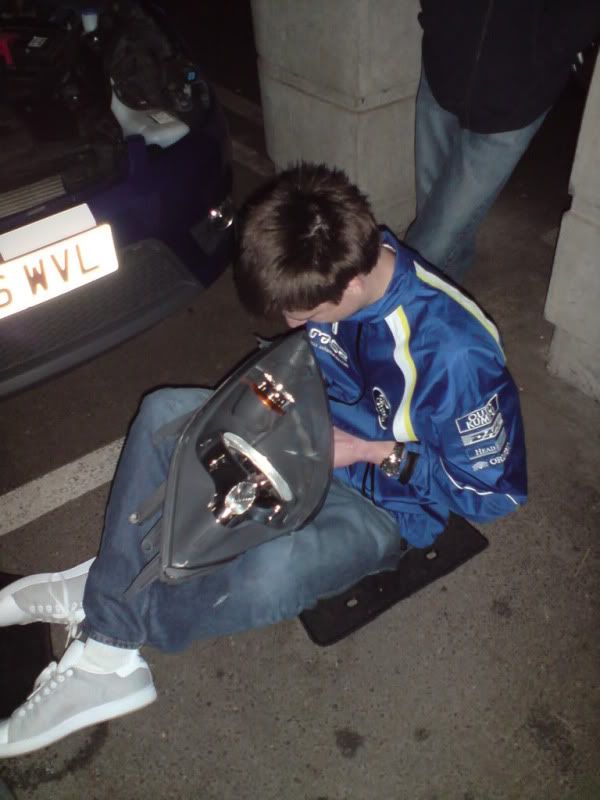
12. Grip the bottom of the filter with both plyers nearly next to each other and twist them away from each other to begin braking up the filter. It may take a few attempts to start but soon you will be removing small and large fragments of the filter from the unit.
13. After a few minutes you should have got it pretty much all out. If any fragments remain in the unit, just gently shake it again and guide them out of the hole where the indicator sits. Note: If you get any stuck between the tempest grey body and lense in the corner, just gently tap the area and the orange fragment will fall free again.
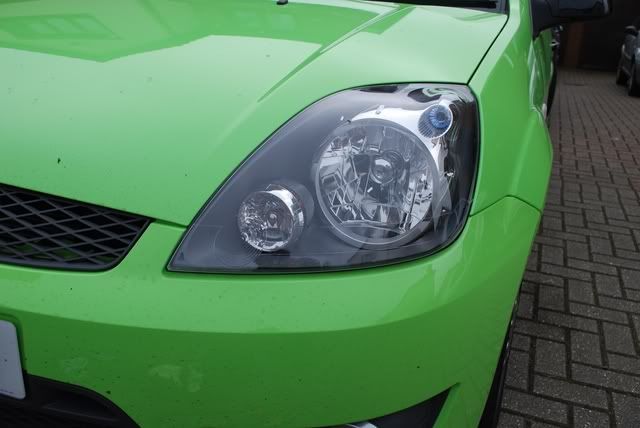
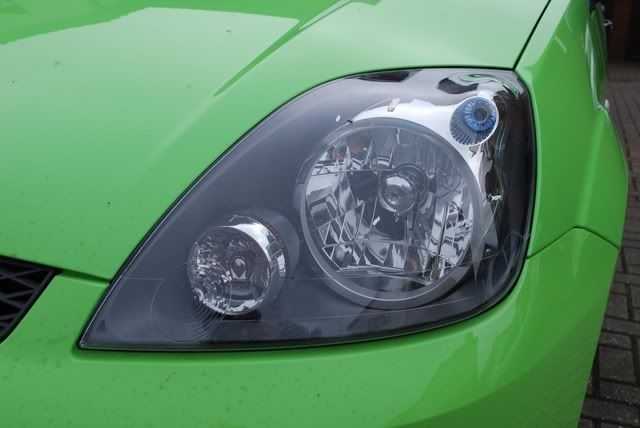
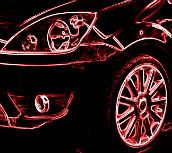
This should be your finished result:
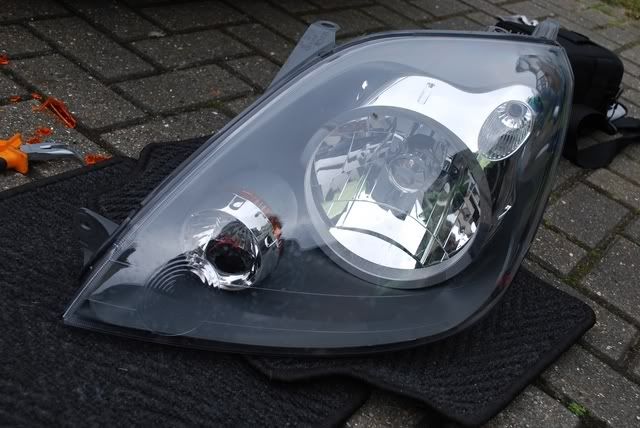
14. Now all you need to do is refit any bulbs you removed and test they all illuminate before you fully refit the unit. Repeat the instructions in reverse to refit the light and then start on the other side.
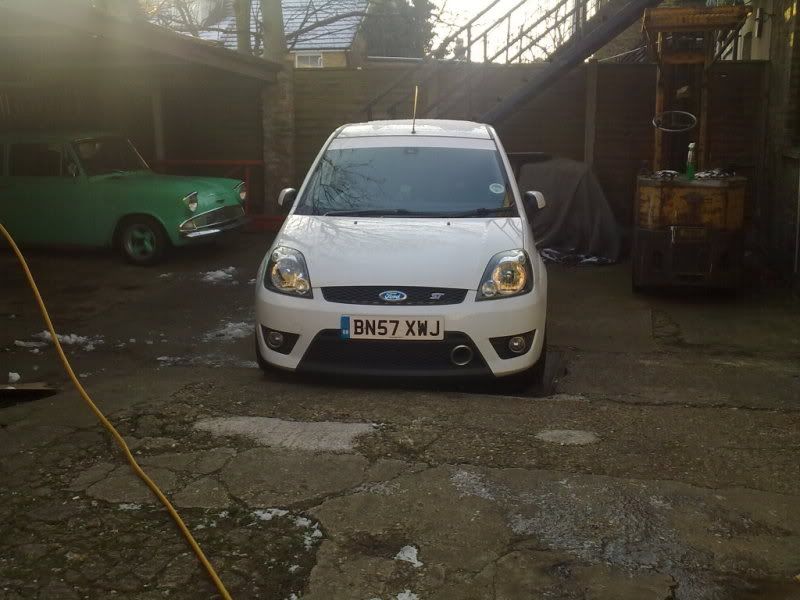
The finished result:

All credits go to
jmeBDC on Fiestaownersclub.com


 Site Supporter


 Previous Topic
 Index
Index
